Last Friday was my last day at megacorp. I am thankful for the four years at my first job as a Software Engineer. Today I have an incredible opportunity to dedicate myself full time in advancing my personal projects and going deep into GenAI while living in SF. Right place, right time.
Though I already have some beginner experience such as building my own home server for working with LLM and Stable Diffusion. I want to refresh my ML foundation and hold myself accountable to a structured plan over the next 8 weeks of runway. So long as I achieve my laid out goals, I can continue building my projects. I have debated what is the best way of getting up to speed with the GenAI community fast. I want to be competent enough to contribute to the massive energy happening right now as I felt going to Ollama‘s meetup last Monday. Formally rebuild my foundation or just learn as I build (honestly leaning to the latter), but I will do both since it seems I already started at the end with high interest areas and now moving backwards to foundations to deepen my understanding.
PS: I am applying for jobs.
I asked ChatGPT to layout an 8 week plan for “how can i learn everything i can learn as a beginner about generative ai and become an expert at it”.
Week 1-2: Fundamentals of AI and Machine Learning Objective: Understand the basics of AI, machine learning, and neural networks. • Complete an introductory course on AI and ML (Coursera’s “Machine Learning” by Andrew Ng is highly recommended). • Read chapters 1-3 of “Deep Learning” by Ian Goodfellow. Week 3-4: Deep Learning Essentials Objective: Get familiar with deep learning, focusing on CNNs and RNNs. •Complete a deep learning course (fast.ai offers a practical, hands-on course). • https://course.fast.ai/ • https://lnkd.in/ghhSsD9u • Implement basic projects using TensorFlow or PyTorch (e.g., image classifier with CNN, text generation with RNN). Week 5-6: Introduction to Generative AI Objective: Understand and implement simple generative models. • Study GANs and VAEs through tutorials and implement simple models. • Explore tutorials on transformers and attempt to fine-tune a pre-trained model for a text generation task. Week 7: Advanced Generative AI Models Objective: Dive deeper into advanced generative models and applications. • Read research papers or summaries on GPT and DALL·E. • Experiment with more complex projects, such as using GANs for more sophisticated image generation or exploring text-to-image generation models. Week 8: Real-world Applications and Exploration Objective: Apply knowledge to a real-world problem or creative project. • Identify a project that interests you, such as creating a chatbot, generating art, or synthesizing data. • Begin building your project
Good plan?
Either way I’m excited for this new chapter. It’s been so much fun following the real time advancement and sharing of ideas.
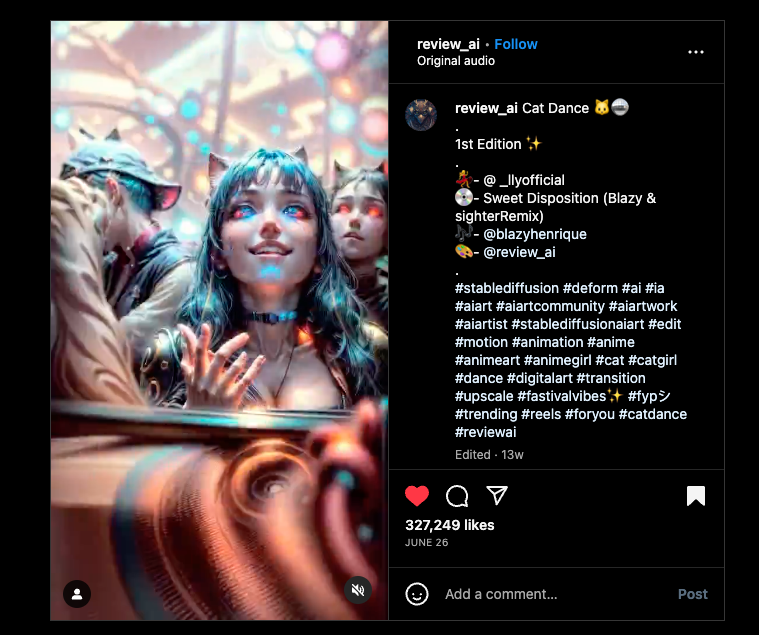
It seems like there are many people creating their own custom LLM and AI art today, about 10 months after ChatGPT-3.0 surprised and changed the world. It felt like magic to literally the whole world and spur such great interest, innovation, investments, competition when the world was in a vulnerable state with high inflation, layoffs, and economic turmoil. This magic gave hope.
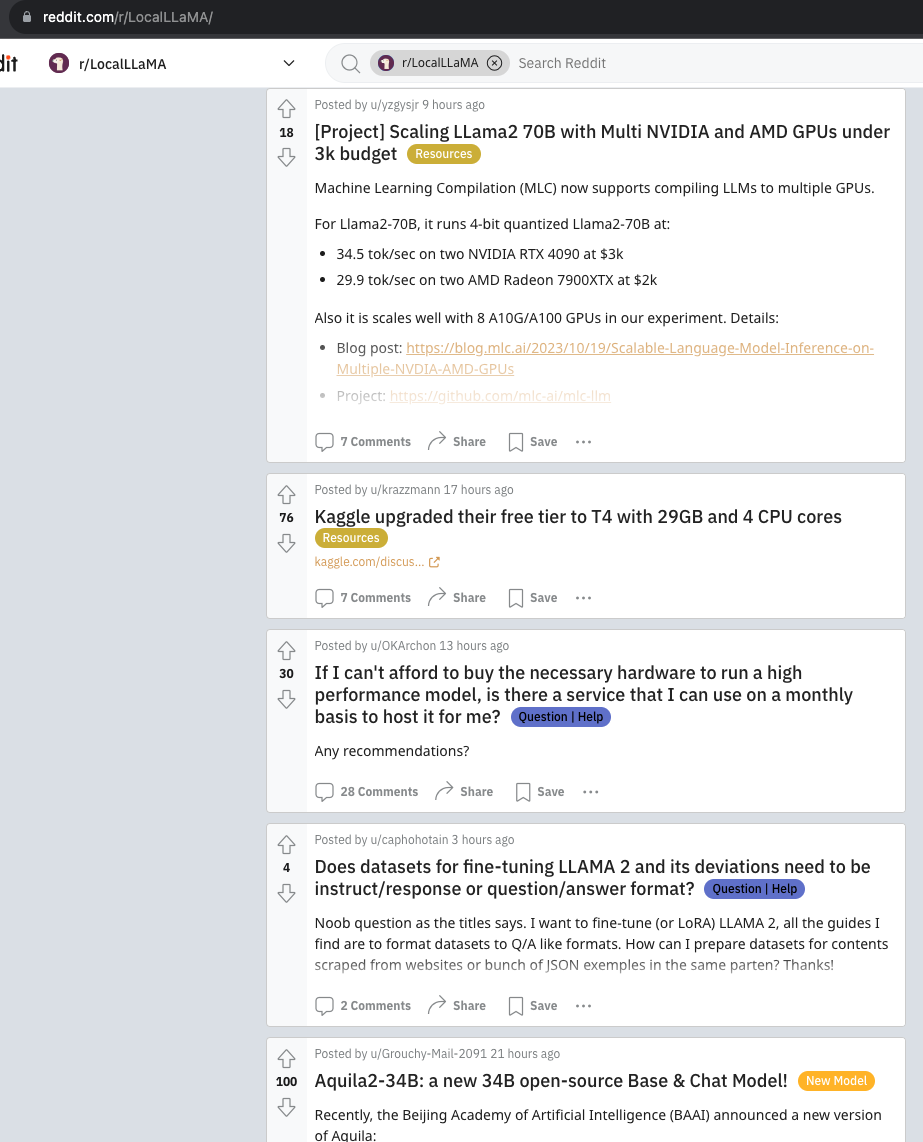
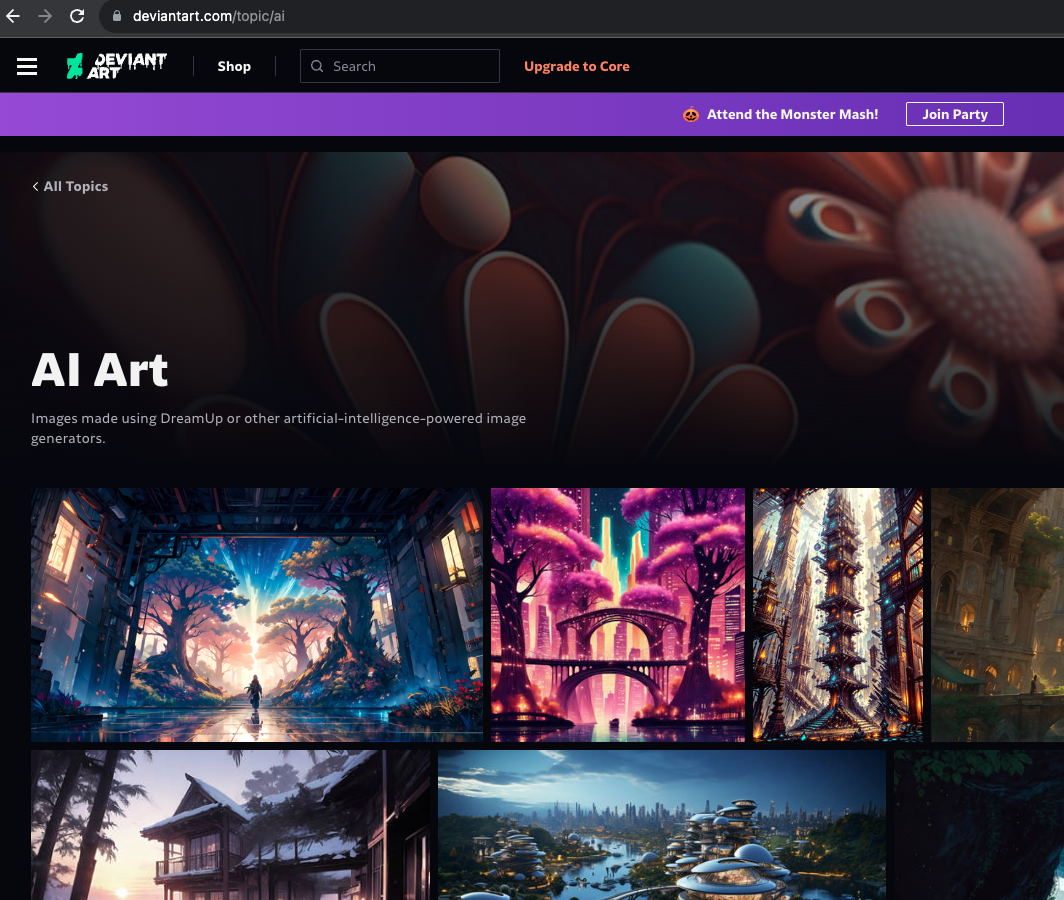
The tipping point where I felt comfortable enough to embark on my journey from observer to creator was being introduced to https://www.reddit.com/r/LocalLLaMA/ and seeing so many people there casually discussing and practicing LLM. Beautiful AI art has also popped up and taken a lot of space from traditional art on deviantart.com and IG.
So thank you to all the creators out there putting your work up, you’ve inspired me by making it seem doable and accessible. If so many people can do it, why can’t I?
This marks the start of my journey to learn and create LLMs and AI art.
You can skip this whole personal thoughts section if you only care for the guide on getting started with NFT
Preface
Personally I think NFT is in its early bullshit days like cryptocoins, the utility idea is great and has tons of potential. This guide is simply for those who are interested in getting started and understanding the basics of NFT from my perspective. When I was in undergrad I missed out on $3/bitcoin, forgoing a coffee would have net me a fully paid off new Tesla Model 3 today. NFT seems to be repeating the phenomenon for the next gen, and rather than scoff at it as I’m supposed to as the stereotypical, older, condescending person, I respect the younger people’s energy and risk taking. Yes, it is more nuanced than 1:1 analogy of bitcoin of my time and NFT now because bitcoin was used illegally and not accepted mainstream then, whereas NFT rides off of a legal space created by its predecessor, removing the huge risk and reward of “$3/bitcoin”.
To quickly talk about the utility potentials of NFT, the following tweet sums up the relationship between NFT and the Metaverse concept (the virtual You).
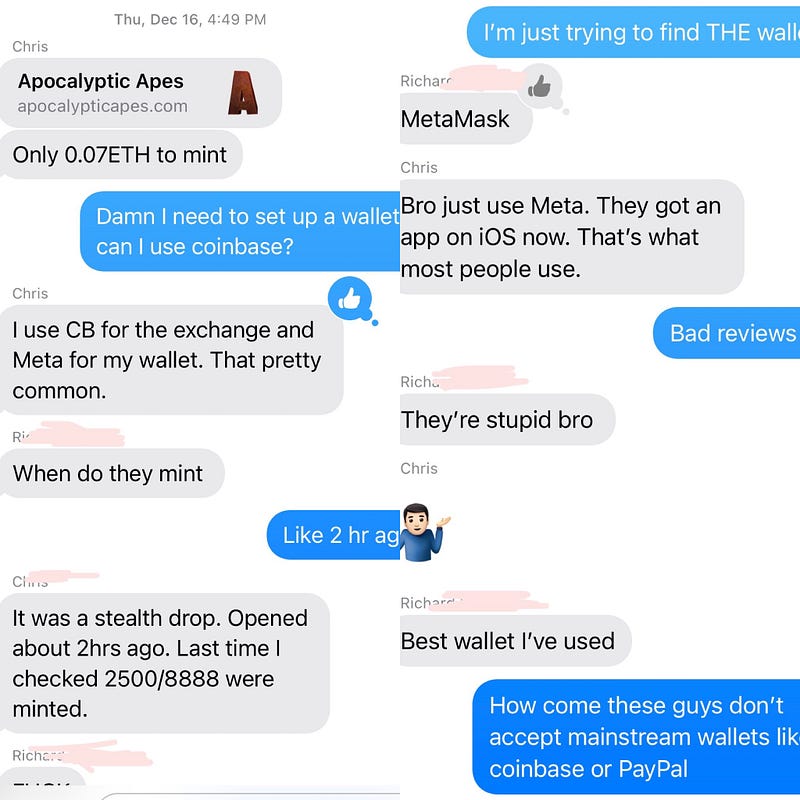
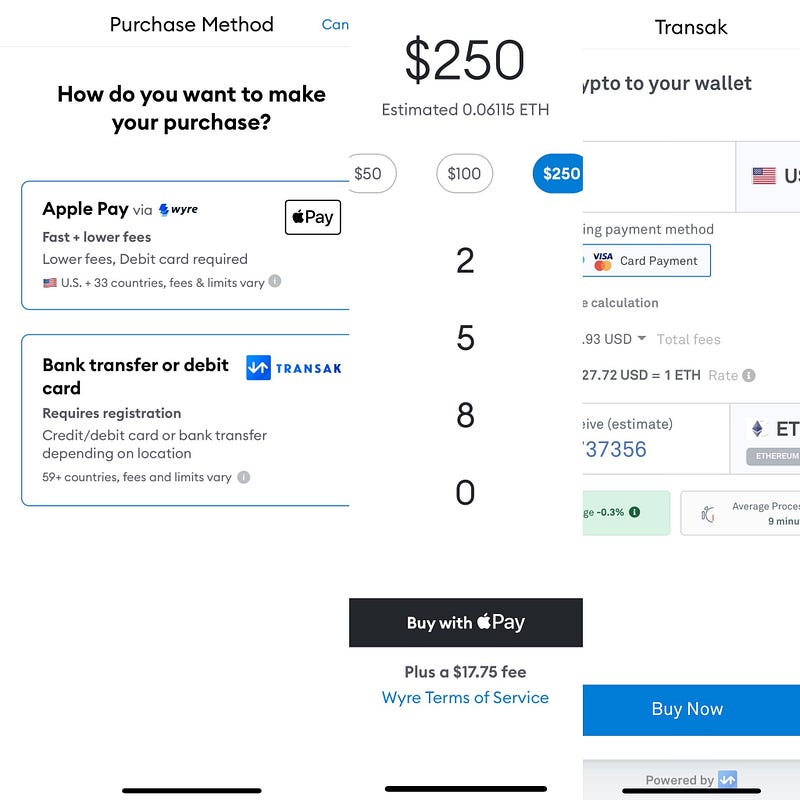
Setup DeFi wallet such as https://metamask.io/ I was actually and still am skeptical of this Gen Z connect recommended wallet, I treat it as a total loss even now.
Fund DeFi wallet with the currency of the project you’re trying to mint, ETH in my example. I fund mine from Coinbase rather than the DeFi wallet out of precaution from fear of step 1.
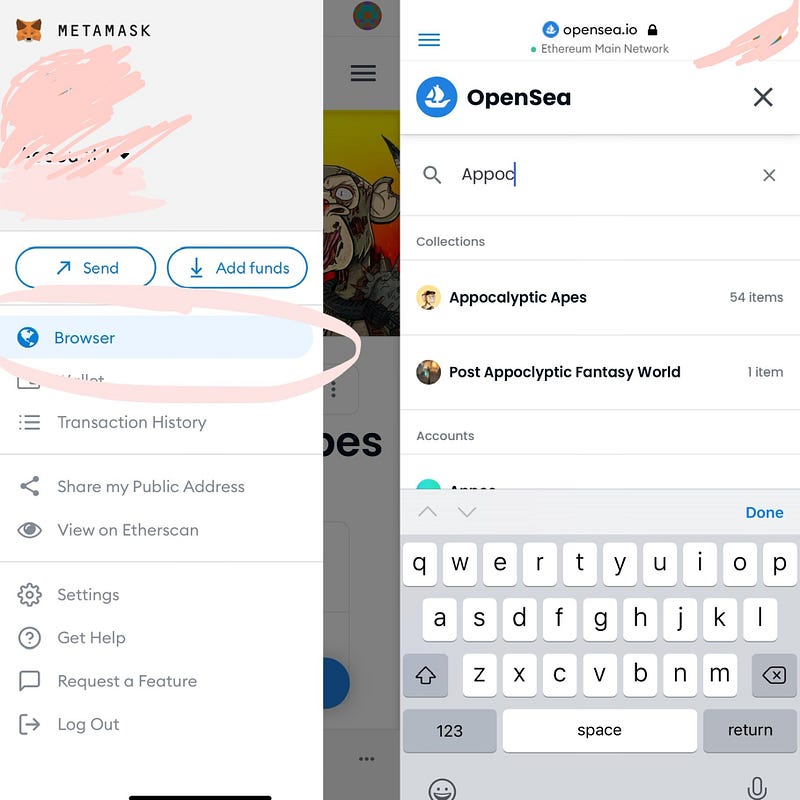
Go to NFT Project website such as https://apocalypticapes.com/ to mint the NFT to your DeFi wallet by connecting your DeFi wallet and paying the floor + gas price, initial offering basically.
Sell on opensea.io or any other NFT trading platform.
???
Profit! Utility!
Guide to getting started with minting, selling, and buying NFT
I’m gonna walk through the steps along with my newbie thought process and questions.
Step 1 Getting a Decentralized Finance Wallet:
My first NFT drop recommended from my Gen Z connects and selecting a DeFi wallet to setup
Why can’t I use my existing Coinbase wallet, what’s the difference?
Coinbase is still connected to you via SSN. Email and Phone number can be easily supplied anonymously. DeFi wallets don’t ask for SSN. To be honest not sure why it’s significant to have DeFi wallet over Coinbase, maybe less central control, and allows for more freedom and less regulation, more potentially dangerous assets such as hyped NFT / crypto coins.
I don’t know, but my Gen Z connects have told me they use MetaMask. I looked at the reviews and it was terrible and scary to trust my finances to, but I’m here to learn and want to remove the friction from Gen Z knowledge share, so I took a risk for us.
How can I trust the DeFi wallets won’t steal my assets?
I still don’t fully trust them, and I accept it as a total loss from the start. I have ways to mitigate risk such as funding these wallets from a different source rather than from services offered by these wallets.
Step 2 Fund the DeFi wallet:
MetaMask DeFi wallet offered third party services to fund the wallet, no thanks. MetaMask services out to 3rd parties (???) to connect my bank and ApplePay, no thanks.
To protect myself I just sent crypto from my Coinbase to this DeFi burner wallet’s public address. I sent whatever currency I need to pay for the project I’m trying to mint.
What’s minting?
It’s exactly what it sounds like, instead of pressing a coin, you’re pressing, minting an NFT. Basically purchasing and putting it on the blockchain the initial NFT offering, everything afterwards is a resell, meaning this is the best price on the market, the minting price.
Step 3 Mint the NFT from the NFT Project Website:
Go to the official website, and make sure you spend the time to triple check what’s the real website. Lot’s of fake aliases on the trading platforms and everywhere. Would be so dumb to pay hundreds of dollars for a *.png to a fake fake entity!
Once at the NFT project website it should be very clear how to mint your first NFT. It usually goes like:
Connect wallet
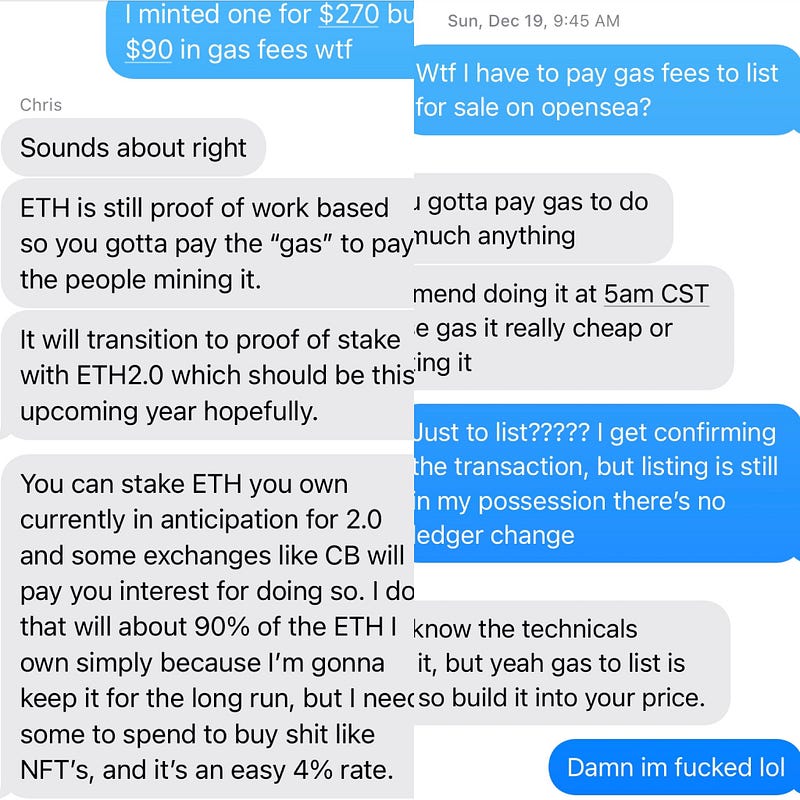
Pay in their desired crypto currency to mint + gas fees (can be high unfortunately) I paid about 20% in gas fees.
Your first NFT arrives at your DeFi wallets.
What’s gas fees?
It’s the fee paid to the Ethereum miners who compute to verify the transactions on the ledger. Very compute heavy, very profitable, and very suck for people who want to get their hands on an RTX 3080 for ML and games. Lastly I learned it also sucks for people who want to flip NFT. FUCK.
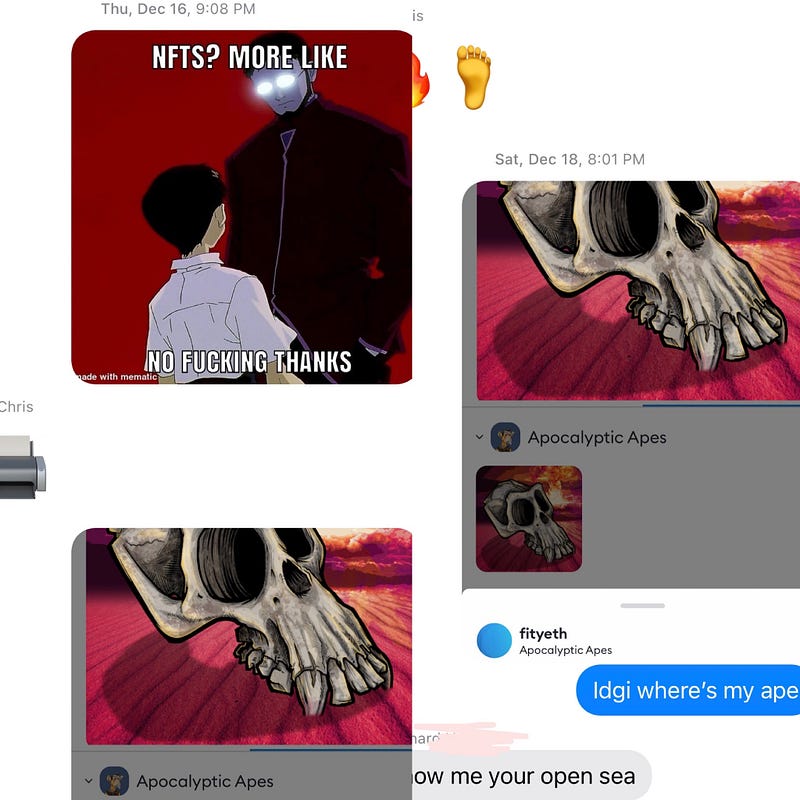
Wtf did I just get sent to my wallet, where’s my ape???
WHERE’S MY APE?
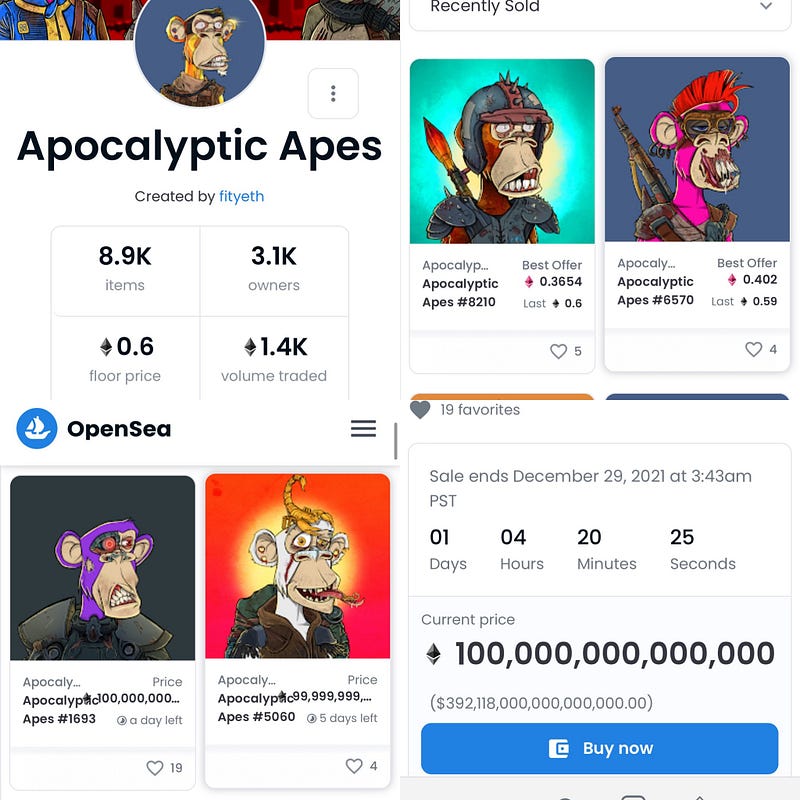
I was so confused, I got this picture of an ape skull. Wtf did I just pay $350 for this ugly pic???? I was expecting the below.
random AApes Dec 28, 2021
The answer was right in front of me. Have to refresh the metadata after minting and the NFT asset first arriving to your wallet, refresh by clicking the retry or refresh looking icon via opensea.io, maybe can do it from somewhere else too but that’s what I did.
Shows the in wallet browser and also knock offs on opensea.
What’s opensea?
opensea.io is simply a trading platform like eBay for NFT. There’s many others but this is a popular one.
You’re able to connect your wallet to this web NFT trading platform and can be opened as a browser from your wallet.
How can I find my assets on opensea?
I still haven’t really figured out a good way and I’m not sure if this is a limitation of design or bad UI on this new platform (which is clever use), but it is so damn hard to readily get to the asset I purchased from my MetaMask wallet. So my steps to get to my asset on opensea:
Find the NFT item number via MetaMask NFT tab.
Search for the NFT project’s opensea.io page and then further search for the item #.
Update me if there is a better way; connecting my wallet and favoriting it doesn’t seem to help, it still seems to be missing from being readily available to access. I find myself clicking through in loops between wallet browser/opensea clumsily.
Step 4 Sell your minted NFT to others
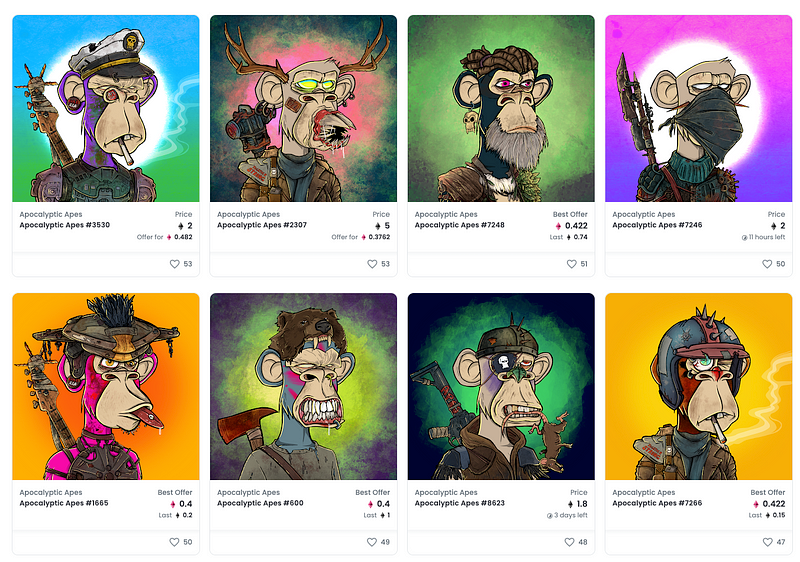
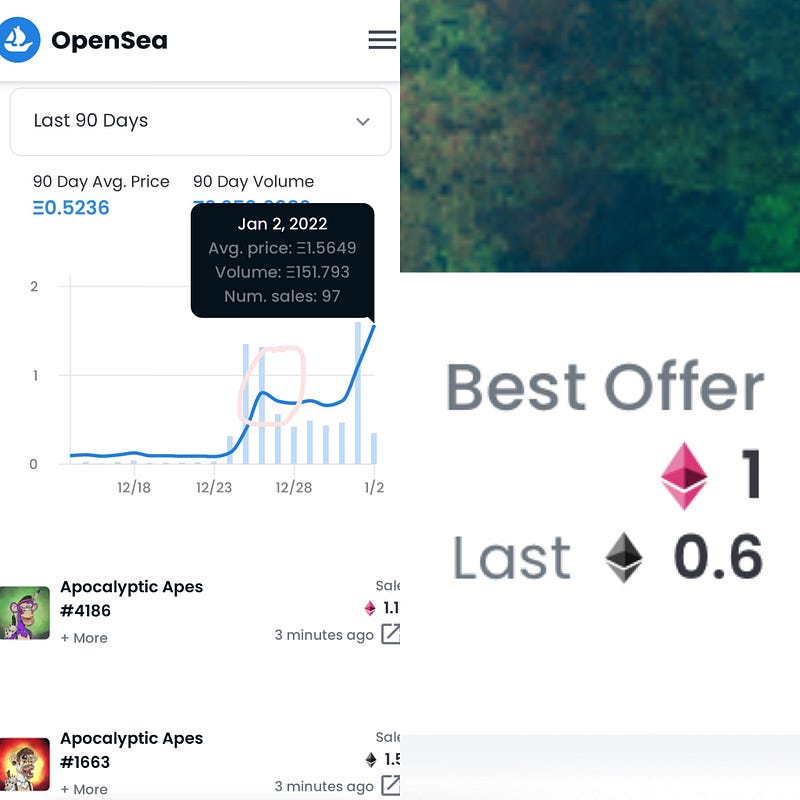
Example of Best Offer and Last shown, also example of reasonable NFT price.
5. ??? 6. Profit
What’s the Best Offer? and what’s the Last mean?
From what I understand Best Offer is the current best offer made to the seller, and Last means what the asset itself was last sold for, I’m thinking this is what the current seller bought it for.
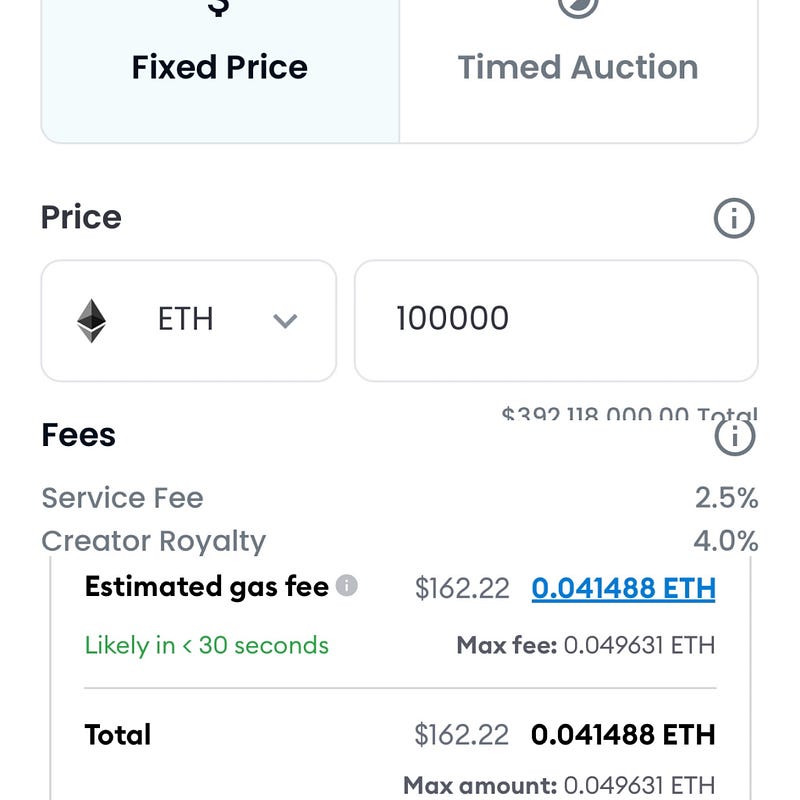
Ouch, huge fees JUST TO LIST for sale.
As mentioned from the sections before the “gas” needed for any transaction is hella expensive as you can see here. It’s confusing that to simply list on opensea.io requires you to pay these crazy transaction fees of $162 (lowest I’ve seen so far), I’ve seen as high as $300+ so far. Though off peak hours such as 3AM CST seems to exist the lowest price of the day. I have only listed my one and only NFT, so I can’t verify if I have to pay such high fees each time I want to list for sale. I’m not sure if the high fees were a one time initiation fee to sell on opensea and each subsequent listing would be a much lower gas fee of ~$10 vs $100+ or the high fee IS normal. Will update when I use next.
Step 5 CASH OUT, USE LUCKY HOUSE MONEY AND YOLO SOME MORE:
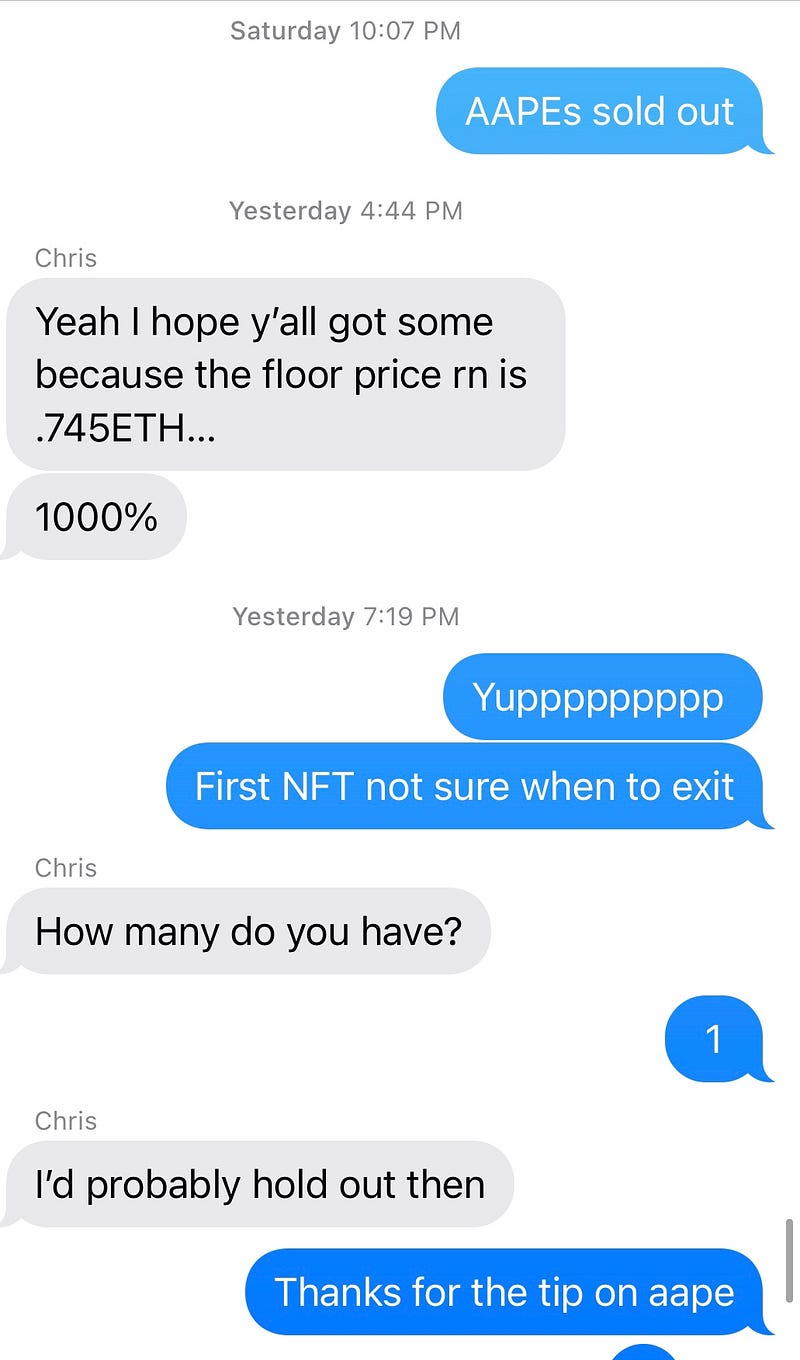
I did let go of my first NFT at first dip, and it proved to be a mistake. Because I only minted 1 NFT, I was stuck with limited options. I wanted to lock in and say yes, someone offered thousands to buy my *.png and it happened rather than risk it dropping back to minting price effectively me buying this *.png for hundreds. I couldn’t HODL because I only had 1. The answer is to buy 2+ if you’re going in on a project, and that’s what I should have done.
paperhanded super hard 😭
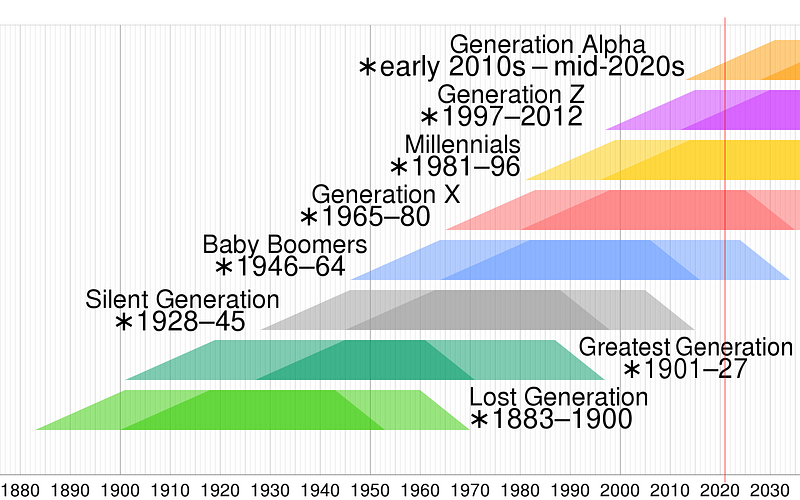
Cheers to you Gen Z, thanks for teaching this Millennial.
Just before the start of the new decade, I am happy and proud to have graduated with a Computer Science degree from The University of Texas at Austin, adding to my Molecular Biology degree and Medicine background!
I will be moving to Seattle in February to begin my career as a software developer!
I am very excited for this new decade and chapter in life.